Ready to Try GoHighLevel?
Get the all-in-one platform for CRM, automations, funnels & websites — built for agencies.
Start your free trial and explore every feature.
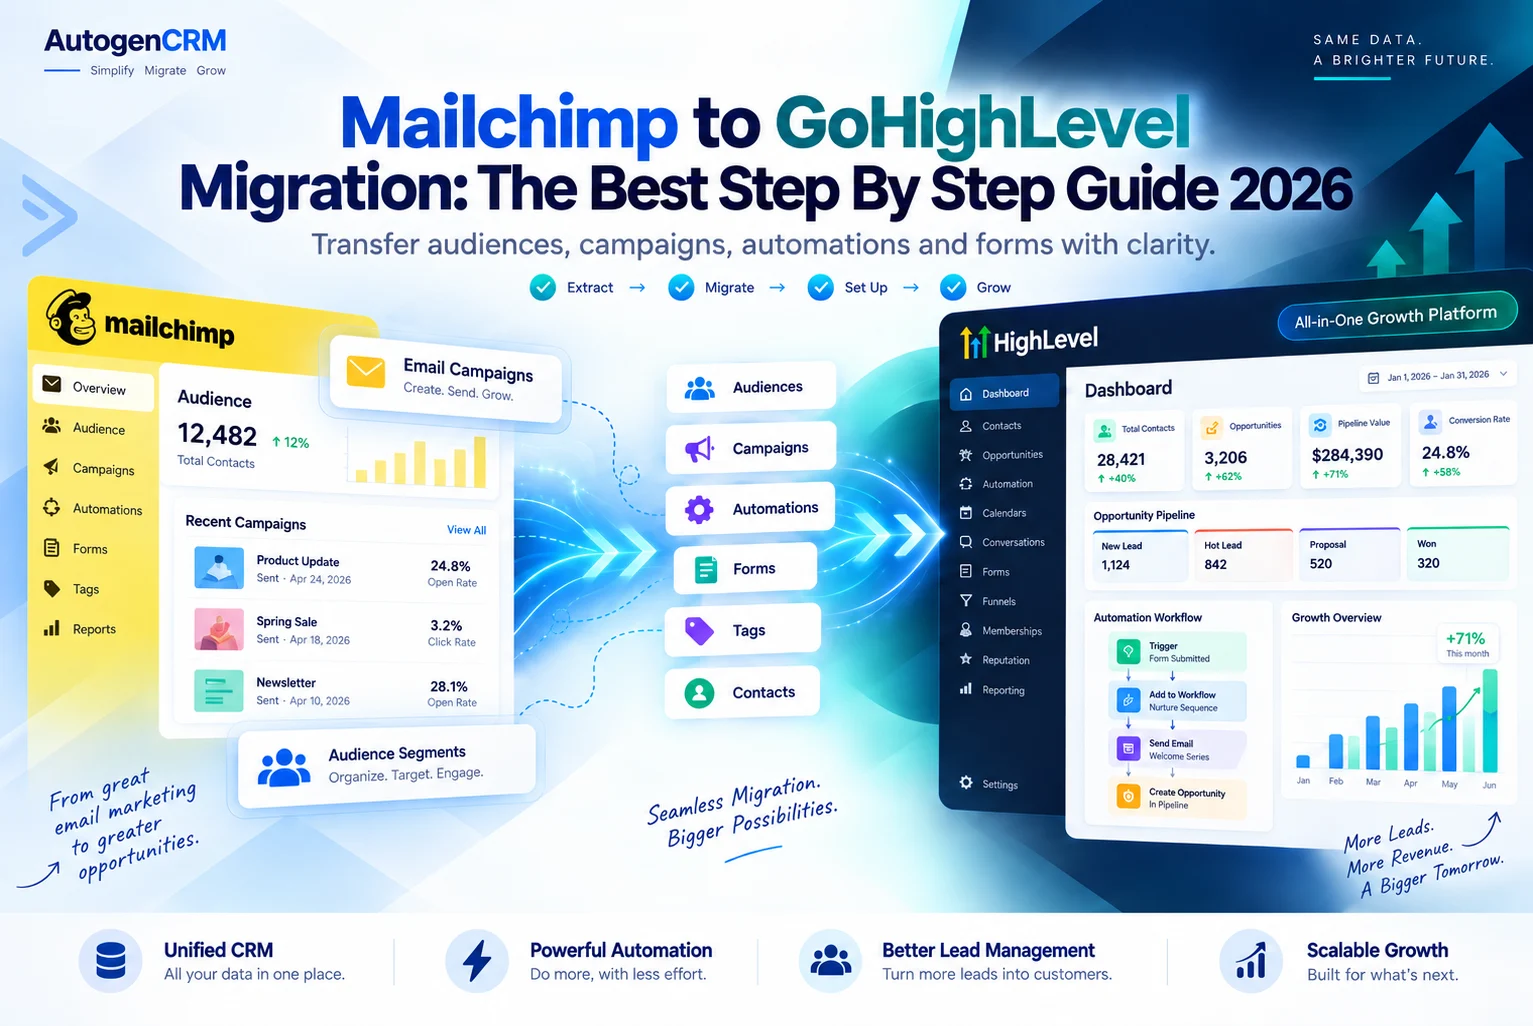
A Mailchimp to GoHighLevel migration is the easiest CRM move most businesses will ever make, and it still goes wrong for the same small reason. People assume the export contains everything, then find out later that it does not.
Your contacts move. Your tags move. Your campaign history and your open and click data do not.
Once you know exactly which is which, the whole job becomes a short checklist. This guide walks it using the documented behaviour of both platforms, so you can plan around the real limits rather than guesses.
What moves in a Mailchimp to GoHighLevel migration
Moves as data. According to the official Mailchimp export documentation, an audience export includes your audience fields plus data Mailchimp collected. That covers marketing permissions, member rating, opt in timestamps and IP addresses, confirmation details, geolocation data, timezone, the unique contact identifiers known as LEID and EUID, contact notes, and tags. For SMS contacts it also includes subscription status, acquisition time and phone number.
Does not move. The same documentation is clear that the export does not include email engagement such as opens and clicks, purchase history, language preferences, predicted demographics, email signup source, or the complete record of profile updates.
Read that second list carefully before you plan. If your segments are built on who opened what, those segments cannot be rebuilt from an export. You will need to define them by tags or fields instead.
Why businesses start a Mailchimp to GoHighLevel migration
Three reasons come up constantly.
Email alone is not enough. Mailchimp sends the message. It does not text the lead, book the call, chase the no show or ask for the review. GoHighLevel does all of that in one login.
Cost that scales with contacts. Mailchimp pricing rises with audience size. The official HighLevel pricing page lists Starter at $97 a month, Unlimited at $297 a month and Agency Pro at $497 a month, with a 14 day free trial, and those prices do not move with your list size.
Client work. Agencies want one system they can copy to every client under their own brand, which sub accounts and snapshots make simple.
Prepare before any Mailchimp to GoHighLevel migration
Three things, about forty minutes, and the rest of the Mailchimp to GoHighLevel migration gets easy.
1. Check your access. The Mailchimp documentation states that only Owners and Admins can export audiences. Sort this out before you plan a launch date around it.
2. Decide what your segments really mean. Since engagement data does not export, write down what each important segment is actually for. Most of them turn into a tag or a simple field once you think it through.
3. List your audience fields. Every merge field you use needs a matching custom field created in GoHighLevel before you import.
Step 1: Export your audience for the Mailchimp to GoHighLevel migration
The documented path is short. Click Audience, choose the audience from the dropdown if you have more than one, click Export audience, then click Export CSV in the popup.
You will see a message that the export is in progress, and Mailchimp emails you when it is finished.
Two details matter for planning. The download can arrive as a ZIP file containing separate CSV files for each type of contact, which is subscribed, unsubscribed, non subscribed and cleaned. And exports stay available in your account for 30 days.
That ZIP structure is a gift, not a nuisance. It means you can import only the subscribed file and leave the rest out of your new system entirely.
Step 2: Clean the files before your Mailchimp to GoHighLevel migration
This is the step that decides whether your new CRM starts clean.
- Unzip the download and work with the subscribed file first
- Decide deliberately whether unsubscribed and cleaned contacts should move at all, because most businesses should leave them behind
- Delete rows with no name, no email and no phone number, because GoHighLevel needs at least one of the three to create a contact
- Strip brackets, spaces and letters out of phone numbers
- Make country codes consistent
- Remove duplicate rows inside the file
- Rename headers to plain words that match your GoHighLevel fields
- Split anything over 30 MB, which is the import size limit
Save each file as a CSV with a single sheet, and make sure the first row is your header row and is not blank.
One word of caution about unsubscribes. Moving them into a new system and then messaging them is the fastest way to damage a new sending domain. If you move them at all, move them tagged and suppressed.
Step 3: Build your custom fields before the Mailchimp to GoHighLevel migration
Create every custom field in GoHighLevel before you import a single row.
If a field does not exist, that column is ignored during import and the data is gone. Fixing it means a second import, and a second import creates duplicates. Ten minutes here prevents the messiest possible first week.
Step 4: Import and finish the Mailchimp to GoHighLevel migration
The official HighLevel import guide states that only an administrator can run an import, so check your access first.
Open Contacts, choose Import Contacts, then pick contacts only or contacts with opportunities. Upload the CSV, choose create or update, and map every column to the matching field.
Two settings matter. Duplicates are matched in a fixed order, which is Contact ID first, then email, then phone. And when updating existing records, switch on the option that stops empty values overwriting good data, or a blank cell can wipe a field that already held something useful.
Step 5: Rebuild the parts a Mailchimp to GoHighLevel migration cannot carry
Open your notes and rebuild in this order.
Forms and calendars first. These are how new leads enter, so they must work before anything else.
Workflows second. Start with new lead follow up. In a move from email software this is usually the biggest single upgrade, because the lead now gets a text as well as an email.
Email templates third. Copy your best performing wording across. Do not rebuild every campaign you ever sent.
Segments last. Recreate them as tags or smart lists using the data that actually exported.
Protect your sending reputation after a Mailchimp to GoHighLevel migration
This is the part that separates a smooth Mailchimp to GoHighLevel migration from a painful one, and almost nobody plans for it.
Your Mailchimp account had years of sending reputation behind it. Your new sending domain in GoHighLevel has none. Sending your entire list on day one is the fastest way to land in spam folders and stay there.
Do it the slow way instead. Set up your sending domain with the correct DNS records. Start with your most engaged contacts, the ones who opened something in the last ninety days. Send to a small batch, watch the results, then increase gradually over a few weeks.
Since open data does not export, work out that engaged list inside Mailchimp before you leave, and tag those contacts in the file. It takes ten minutes and it protects everything that follows.
Step 6: Do not cancel Mailchimp yet
Run both systems side by side for at least two weeks after the Mailchimp to GoHighLevel migration.
Send a real lead through your new forms and follow it to a booked appointment. Check that emails arrive in inboxes and not spam. Confirm your A2P 10DLC registration is approved before you rely on text messages, because carriers block unregistered traffic.
Compare contact counts on both sides. If GoHighLevel is short, find out why before you cancel anything. And remember your exports sit in Mailchimp for 30 days, so take a final copy and store it somewhere safe well before that clock runs out.
How long a Mailchimp to GoHighLevel migration takes
A straightforward list with a few automations takes about a week.
A larger account with several audiences, many merge fields and ecommerce data takes two to three weeks, mostly because of the sending warm up rather than the technical work.
The export and import part of a Mailchimp to GoHighLevel migration is usually an afternoon. Everything else is rebuild and testing.
Mailchimp to GoHighLevel migration mistakes that cost money
- Importing unsubscribed and cleaned contacts along with everyone else
- Blasting the whole list from a brand new sending domain on day one
- Importing before the custom fields exist, so values silently disappear
- Letting blank cells overwrite good data during an update import
- Expecting opens, clicks and purchase history to come across
- Letting the 30 day export window pass before taking a final backup
When to bring in help
Run the Mailchimp to GoHighLevel migration yourself if you have one audience, tidy fields and simple automations. It is genuinely a one afternoon job plus a warm up period.
Bring in help when you have several audiences, ecommerce data, heavy segmentation, or a business that cannot afford deliverability problems. You can see how we scope that on our GHL migration services page.
Your Mailchimp to GoHighLevel migration next step
Open Mailchimp and do two things before anything else. Confirm you have Owner or Admin access, and build a segment of everyone who engaged in the last ninety days so you can tag them in the export.
Then export, unzip, clean, build your fields and import in that order. If you are weighing up other platforms too, our Keap to HighLevel guide and our Zoho to GoHighLevel migration guide follow the same process, and our GoHighLevel migration services guide explains what a done for you move should include.
Ready to Get Your GoHighLevel System Built?
We'll build your entire GHL setup for $499 and give you a free professional website.
Contact Us Now