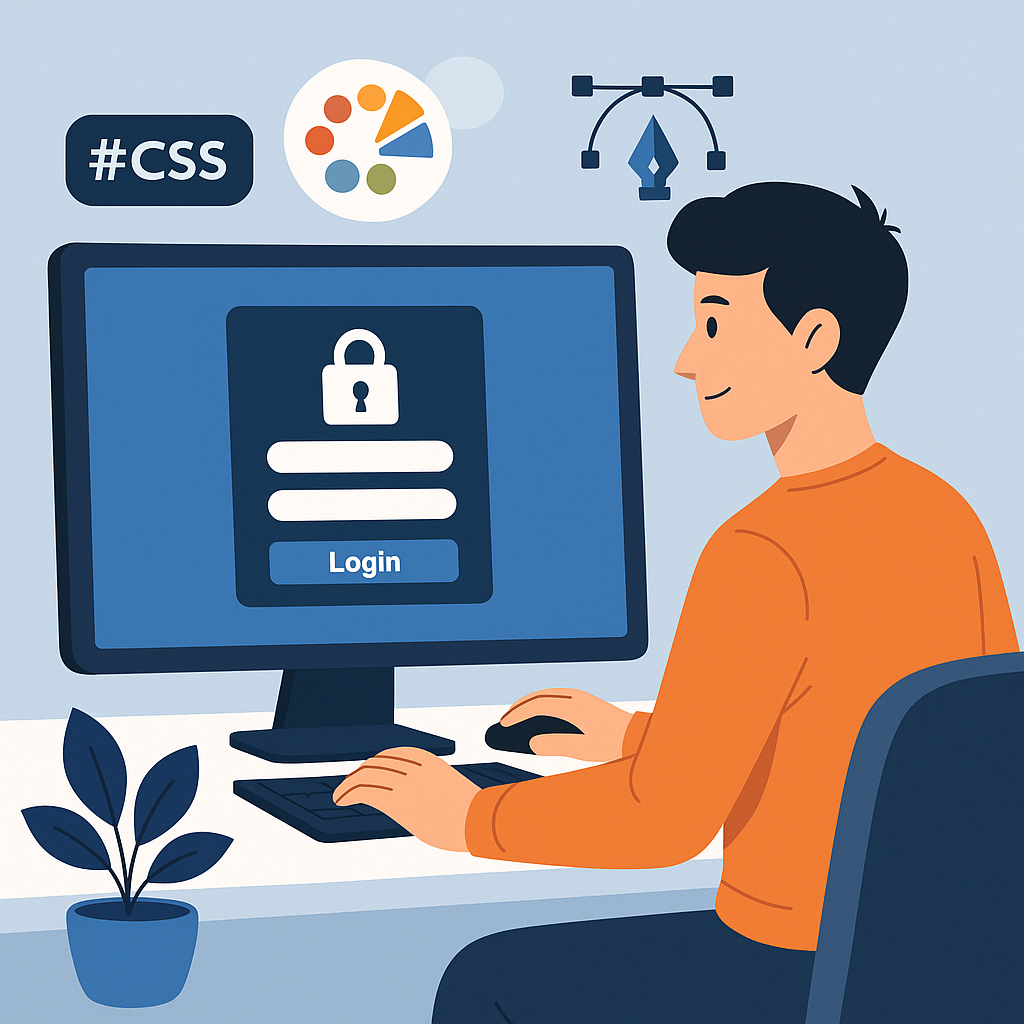
The GoHighLevel login page is the first screen clients see when they access your CRM. By default, it looks simple and clean, but it might not match your agency’s branding or style. Customizing it with CSS allows you to make it look unique and professional.
In this guide, you will learn how to design your GoHighLevel login page with custom CSS. The steps are easy to follow and require no coding background.
Why Customize Your Login Page
Customizing your login page is not only about looks. It is about creating a branded experience that feels professional and trustworthy.
Here is why it matters:
- It reinforces your brand image
- It builds confidence among clients logging into your system
- It creates a seamless visual connection with your website and marketing materials
- It shows attention to detail and professionalism
When your login page reflects your brand colors and design style, it instantly improves your agency’s image.
Step 1: Open Your Agency Settings
Start by signing into your GoHighLevel account.
- Click your profile icon in the lower left corner.
- Select Agency Settings.
- Look for the Custom CSS or White Label Settings section.
This is where you can paste your custom CSS code to style the login page.
Step 2: Add Your Branding
Before you apply custom CSS, upload your logo and define your main brand colors.
Inside your agency settings, you can:
- Add your logo (recommended size 300 by 80 pixels)
- Upload a favicon (32 by 32 pixels)
- Choose a primary color and background color
These settings create the foundation for your branding and make your CSS styling easier to match.
Step 3: Write and Apply Custom CSS
Now it is time to personalize your login page using CSS. Below are some simple examples.
Example 1: Change the Background Color
body {
  background-color: #f4f4f4;
}
This gives your login page a clean, modern background.
Example 2: Add a Background Image
body {
  background-image: url("https://yourdomain.com/background.jpg");
  background-size: cover;
  background-position: center;
}
Use a light and simple background image that does not distract users.
Example 3: Style the Login Button
button {
  background-color: #007bff;
  color: white;
  border-radius: 6px;
  font-weight: bold;
}
button:hover {
  background-color: #005ecb;
}
This makes the login button look more inviting and interactive.
Example 4: Adjust Input Fields
input {
  border: 1px solid #ccc;
  border-radius: 5px;
  padding: 10px;
  font-size: 15px;
}
input:focus {
  border-color: #007bff;
  outline: none;
}
This gives your text fields a smoother and more modern appearance.
Step 4: Save and Preview
Once you add your CSS, click Save.
Then open your custom login page in a new tab to check your updates. If the changes do not appear right away, refresh the page or clear your browser cache.
You can make small adjustments and test them in real time until your design looks perfect.
Step 5: Use Advanced Styling Techniques
If you want to take your design further, you can add advanced effects with CSS.
- Import Google Fonts for a custom typeface
- Use a gradient or pattern as the background
- Add smooth hover animations to buttons
- Make the layout responsive for mobile devices
Example for mobile adjustment:
@media (max-width: 768px) {
  .login-form {
    width: 90%;
    margin: auto;
  }
}
This keeps your layout clean and centered on smaller screens.
Step 6: Test on Different Devices
View your login page on desktop, tablet, and mobile devices. Check that:
- Buttons are centered and easy to click
- Text is readable and properly spaced
- The background image loads correctly
- The overall layout looks balanced
Testing across devices ensures that your custom login page looks professional everywhere.
Step 7: Save Your CSS File
Before making large changes, copy your current CSS and save it in a text file.
This backup helps you restore your custom design if anything goes wrong or if you reset your settings in the future.
Why Agencies Work with AutogenCRM

At AutogenCRM, we help agencies and businesses create custom branded experiences inside GoHighLevel.
Our team can:
- Design and apply professional CSS for your login page
- Build responsive websites and funnels
- Configure CRM automation and workflows
- Customize your entire GoHighLevel setup to match your brand
We make sure your system looks professional, functions smoothly, and aligns perfectly with your brand identity.
Final Thoughts
Designing your GoHighLevel login page with custom CSS is a simple but powerful way to make your business stand out.
With just a few CSS edits, you can give your login page a clean and branded look that your clients will trust. You do not need to be a developer. Start with small changes, preview your results, and keep refining your design.
If you want help creating a beautiful, fully customized GoHighLevel login experience, the team at AutogenCRM can handle everything for you.

